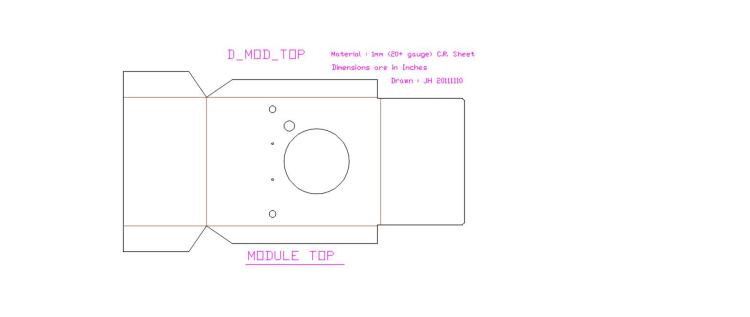
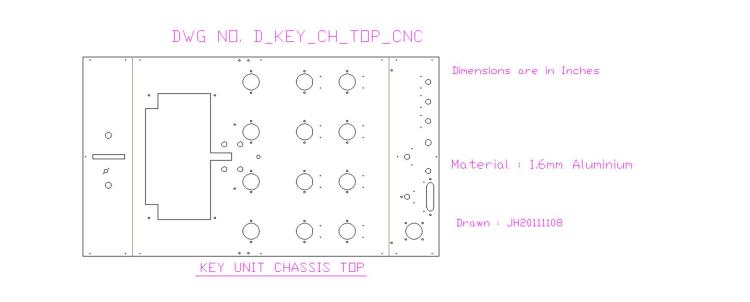
The dimensions were created by scaling photographs. From these, a full set of chassis components were drawn in AutoCad.
The 3D individual drawings were then assembled into a full 3D image to check that all the induvial parts were correct.
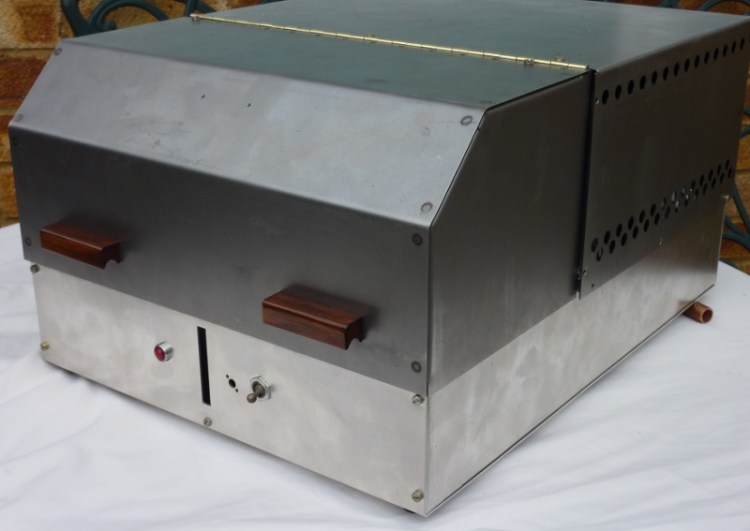
The next stage was to add the black crinkle finish to the areas as shown in the original images. I was lucky to find a company that added the special paint using electrostatic powder coating. Apparently, this coating is not now available and the last tin used on this job was the last.
When all these parts were assembled into the six cabinets followed by further assembly of all the components; such as the hinges, valves holders, etc.
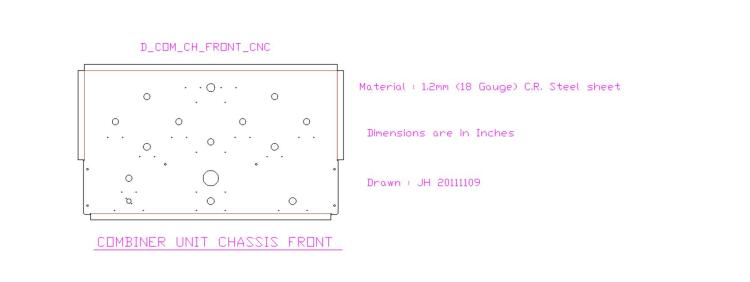
After recreating the overall dimensions by scaling photographs, a full set of items were drawn in AutoCad. The 3D individual drawings were then assembled into a full 3D image to check that all the individual parts were correct.

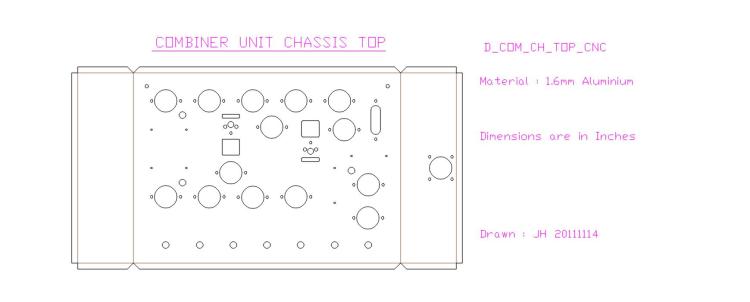
The resulting drawings of each part were then converted into CNC files. These were then passed to a sheet metal company that used these files to cut metal basic shapes. The necessary bends were then applied using basic tools.
The next stage was to add the crinkle finish to the areas as shown in the original images. I was lucky to find a company that added the special crinkle paint using electrostatic powder coating. Apparently, this coating is no longer available and the tin used on this job was the last.
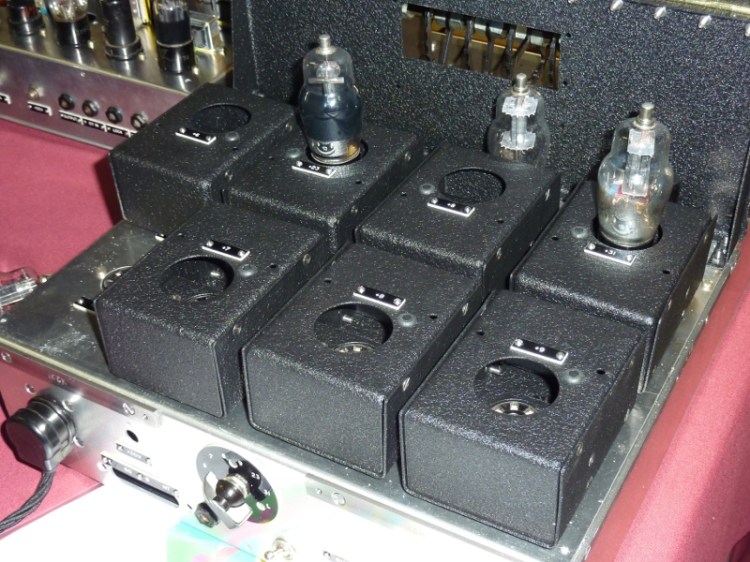
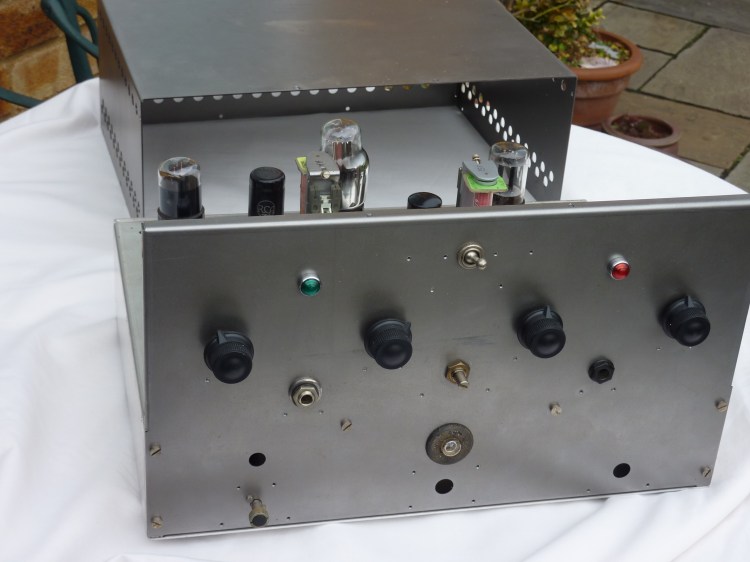
All these parts were then assembled into the six cabinets followed by further assembly of all the components such as the hinges, valve holders, etc.
The screws we used were all BA thread. These were the common British type used in the 1940s
